The installation guide
You don’t need to be a seasoned DIYer to install your custom lettering! Whether you chose a discreet finish with our double-sided pads or a raised effect with our 15 mm standoff kit, follow our step-by-step tutorials for a clean, lasting and perfectly aligned result.
Updated on
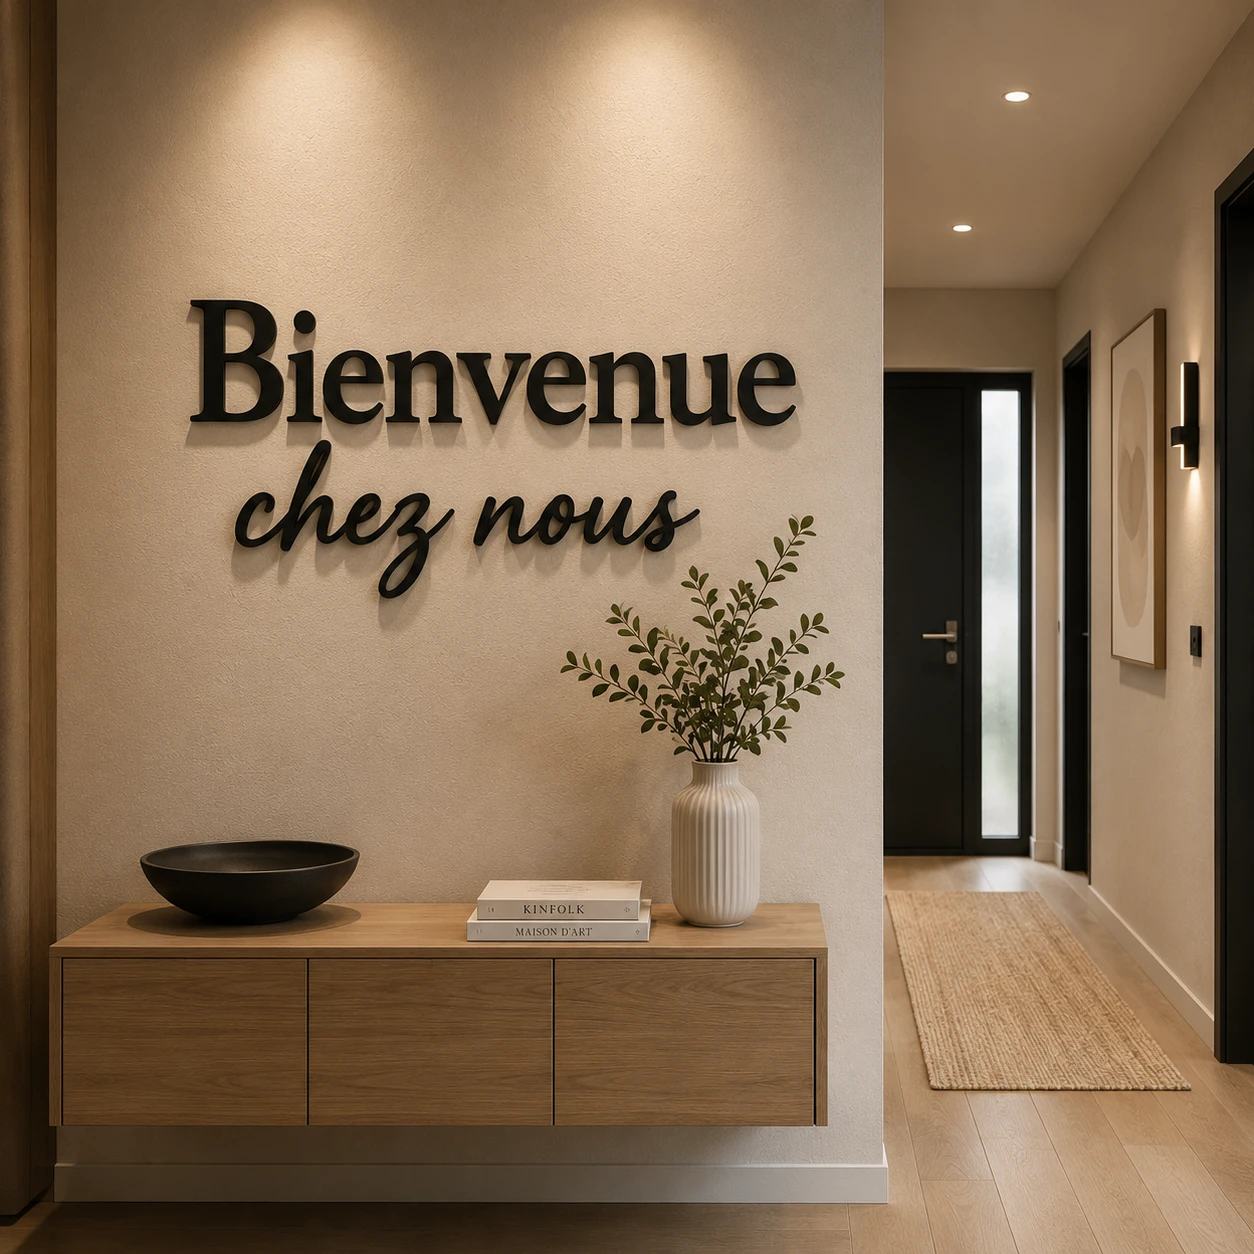
- 2 to 4 adhesive pads on the back of each letter
- 15–20 s of pressure to activate the adhesive
- 15 mm of depth and shadow with the standoff kit
- No maths thanks to calibrated spacing guides
Before you start — Preparing the surface
Whichever fixing method you chose, good adhesion starts with a clean wall.
- Dust and degrease Wipe with a clean, dry cloth (or one lightly dampened with rubbing alcohol if the wall can take it) to remove dust and grease marks.
- Dry surface Let it dry completely before installing.
- Recommended surfaces Smooth painted walls, doors, wood panelling, splashbacks, mirrors. Take care with velvet or satin stain-resistant paints and heavily textured render: always test first.
Guide 1 — Installing your letters with double-sided adhesive pads
The no-drill method: quick, and invisible, flush against the wall.
2 to 4 pads, spread across the ends and the centre of each letter.
What you need
- Your letters (PLA or lime wood)
- The adhesive pads, available here or as an option on shop products See the pads
- A pencil and a ruler (or a spirit level)
- Your spacing guides (if ordered)
Step by step
- Mark your guideline Using a level or a ruler, draw a very light pencil line or apply a strip of masking tape to mark the baseline of your word.
- Apply the pads
- On the back of each letter, place 2 to 4 adhesive pads spread across the ends and the centre.
- Press each pad firmly onto the letter for 5 seconds before peeling off the protective film.
- Position & fix
- Remove the adhesive liners.
- Offer the first letter up to your guideline.
- Press firmly over the whole letter for 15 to 20 seconds to activate the adhesive.
- Carry on with the word Use your spacing guides to position the next letter before sticking it.
Guide 2 — Adding depth with the 15 mm standoff kit
The premium finish that casts an elegant shadow and brings out the volume of your letters.
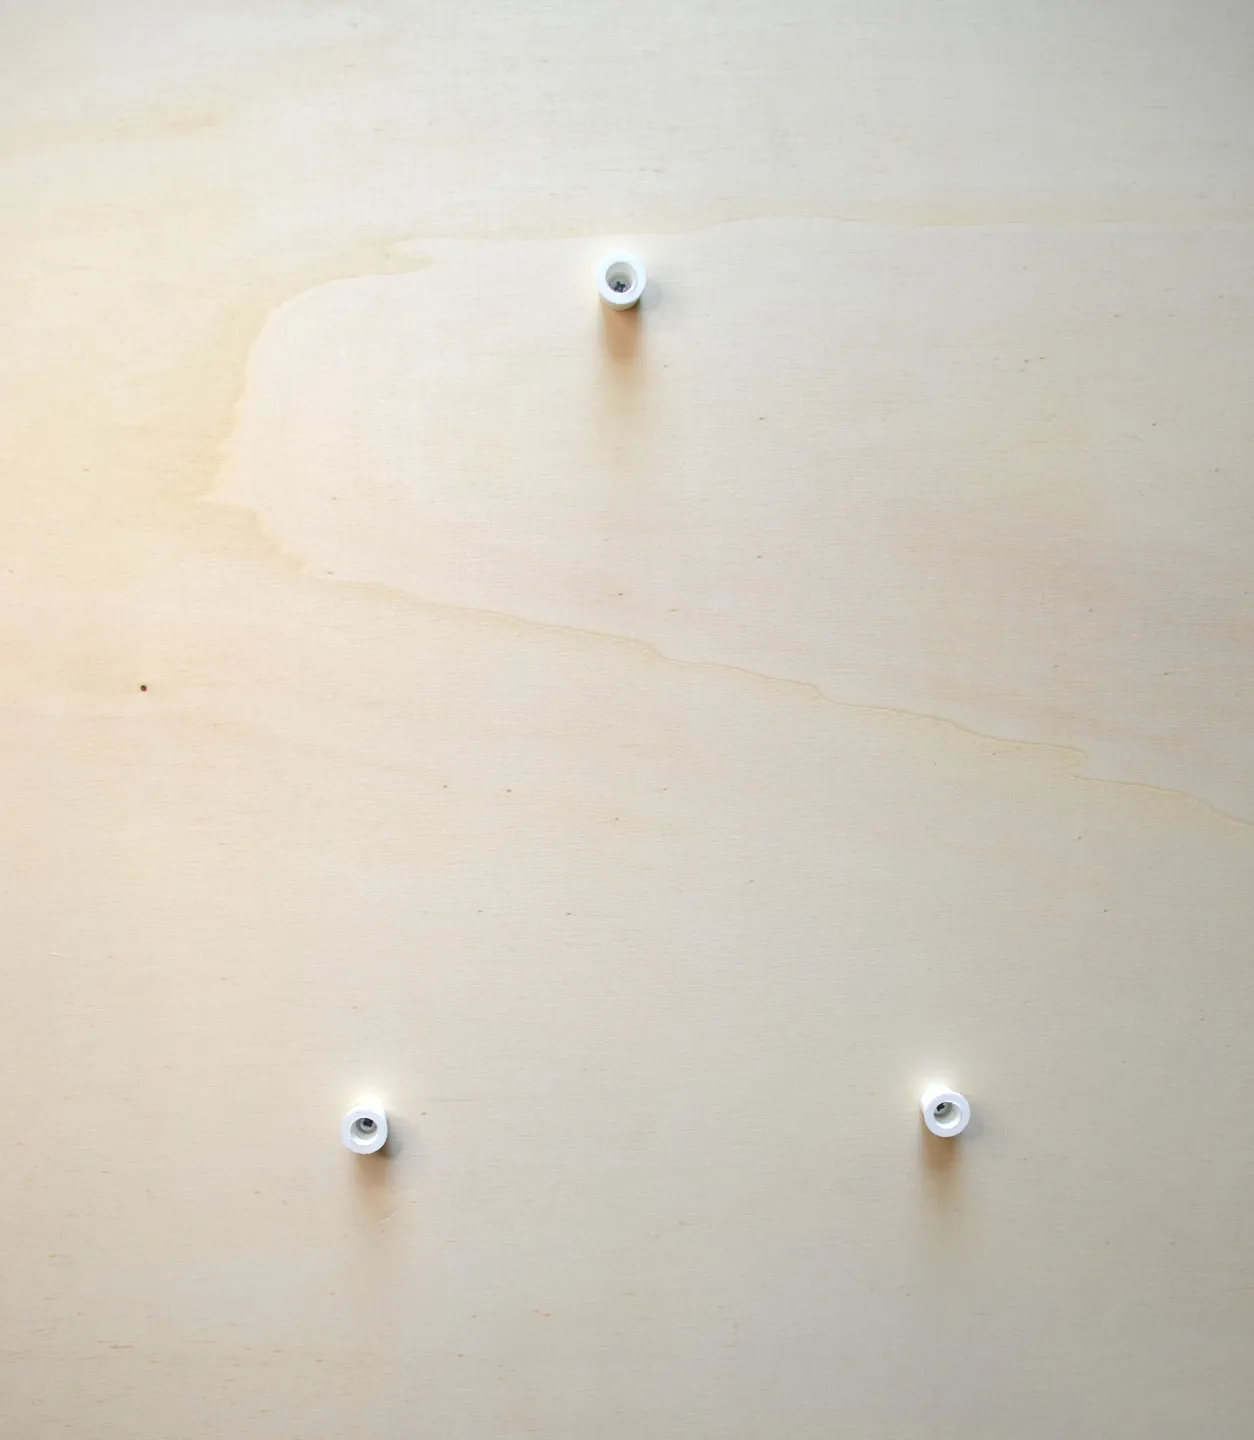
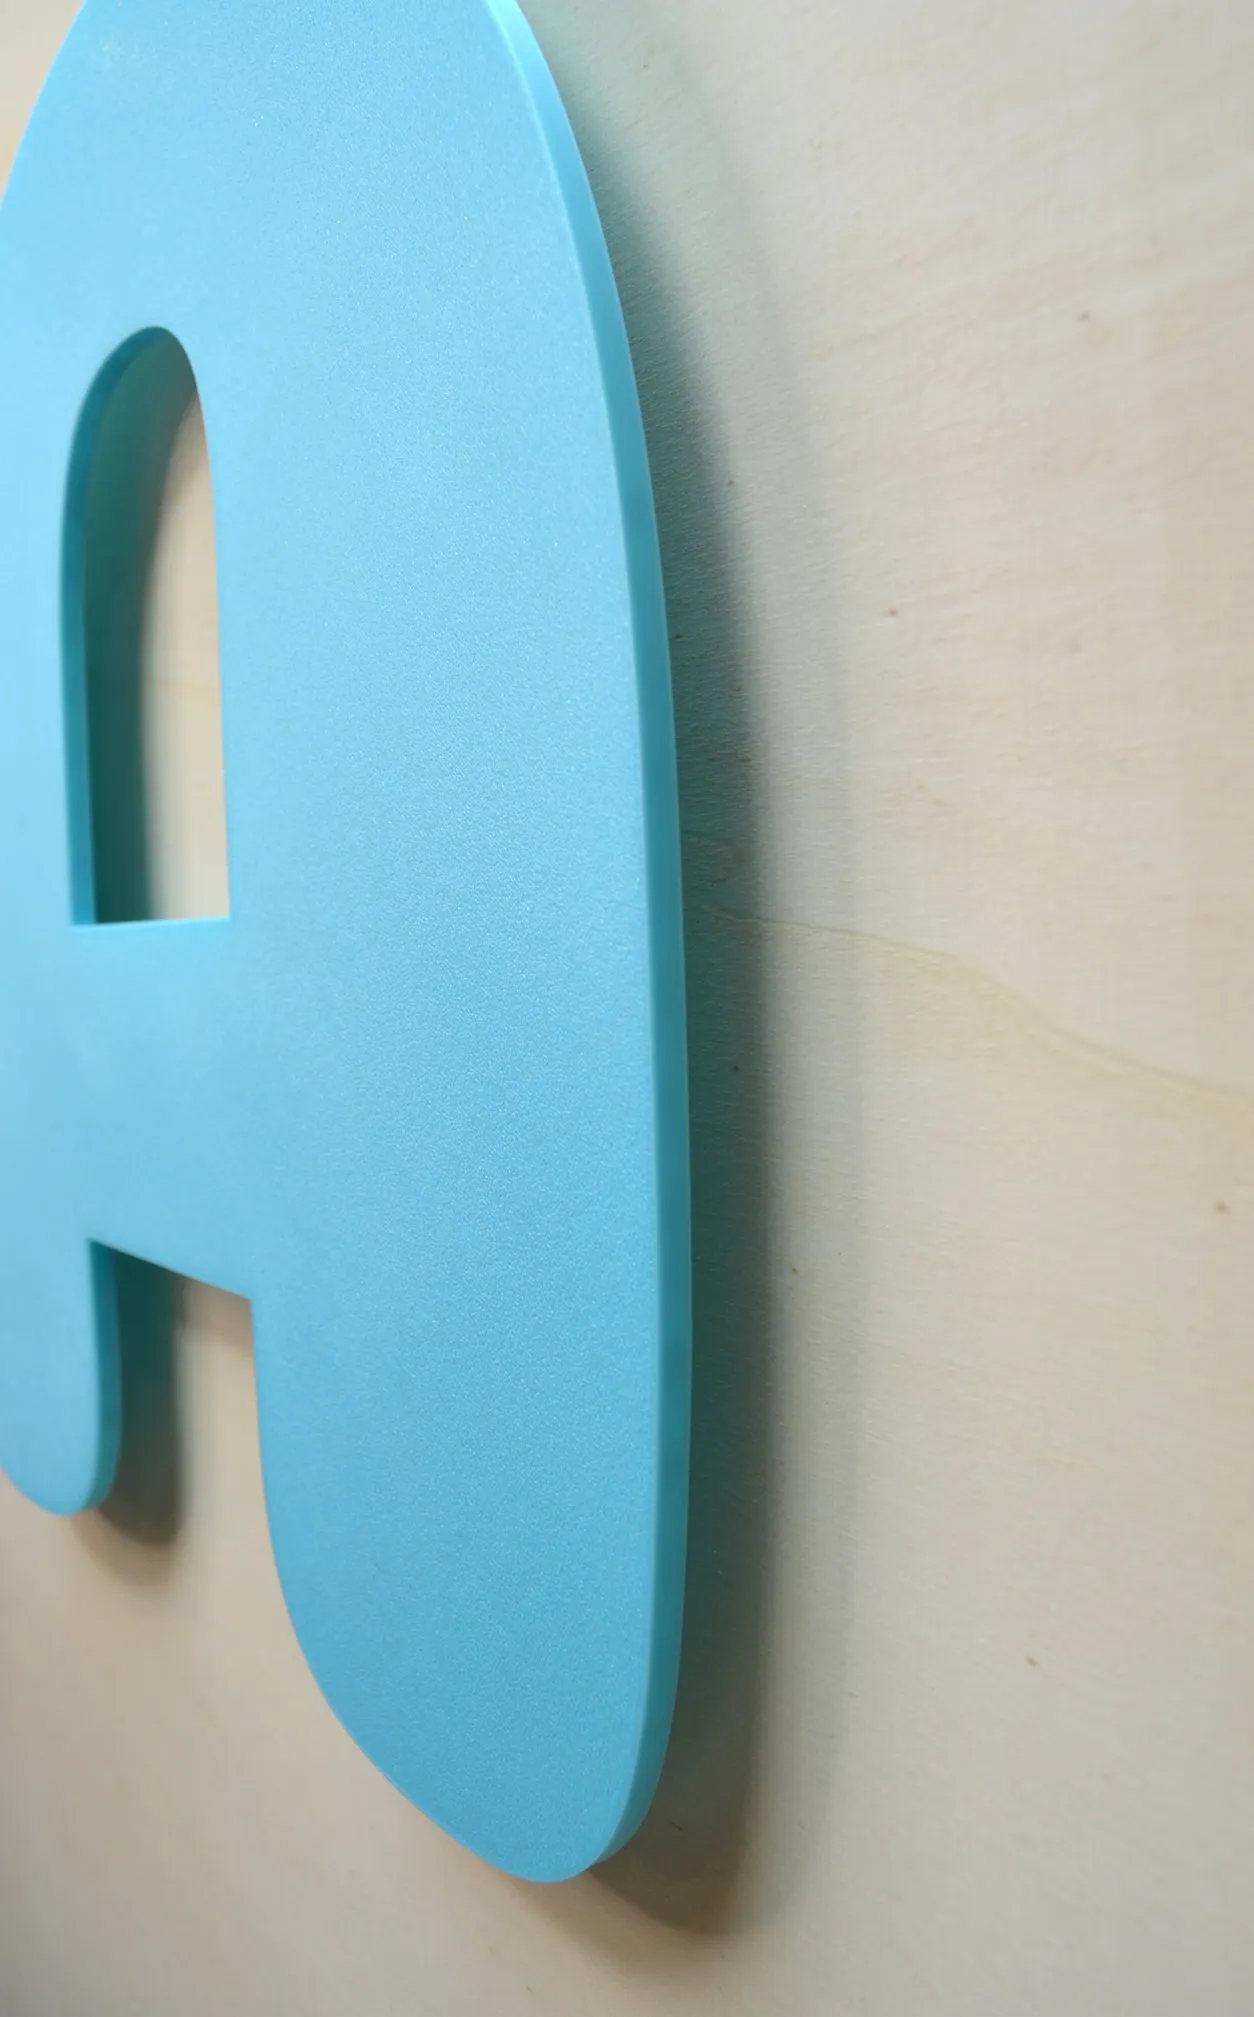
The plug glued to the back of the letter fits all the way into the standoff screwed to the wall: the letter floats 15 mm off the wall. Top: a solid wall with its wall plug; bottom: a wooden surface, screwed directly.
For each fixing point, the kit brings together four parts: a wall plug, a screw, a clear plug and a 15 mm standoff, in white or black. The clear plug fits all the way into the standoff, so it adds no thickness: the gap between the wall and the letter is exactly 15 mm.
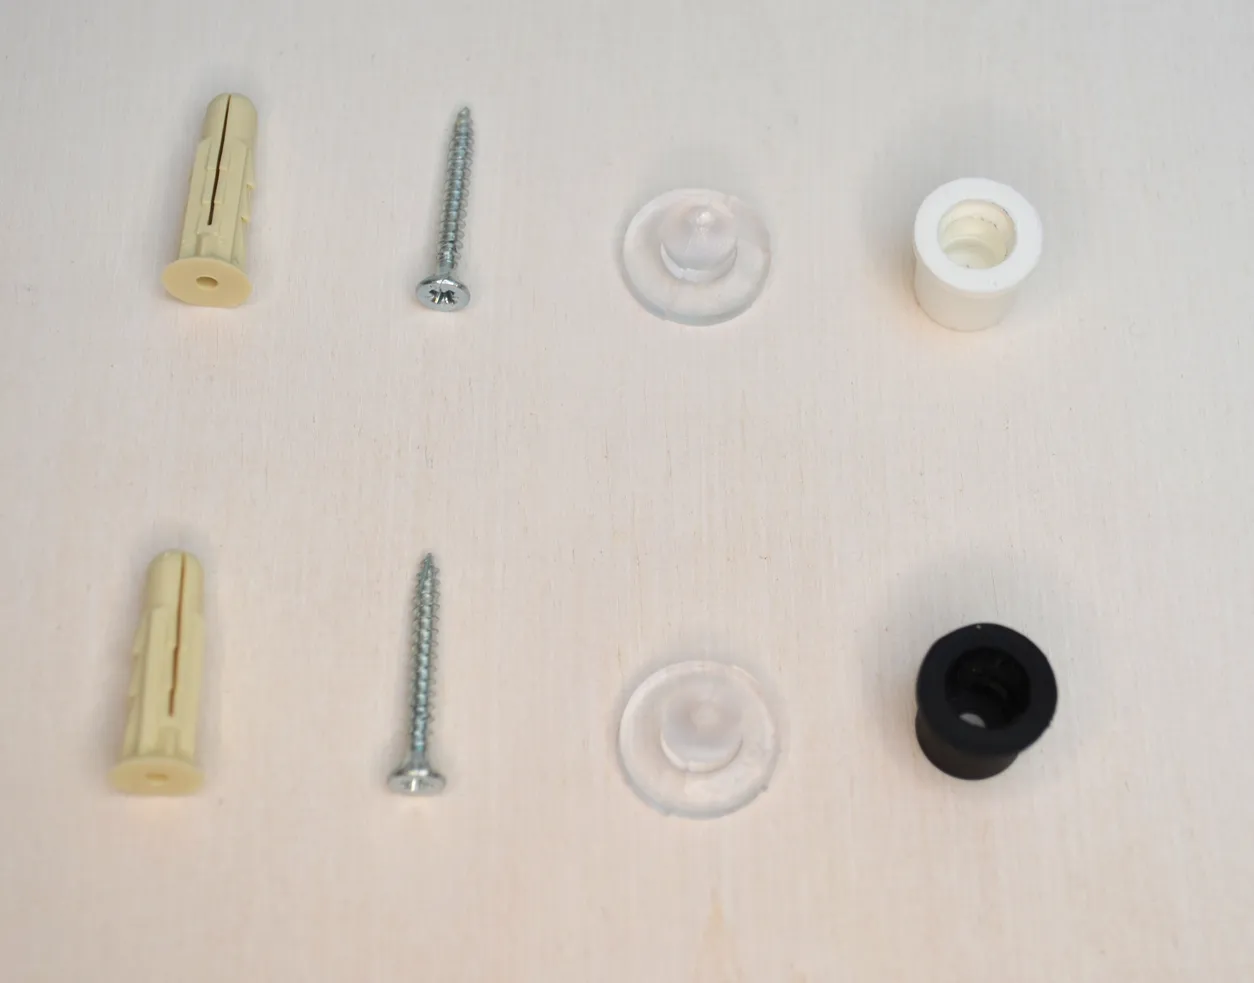
You will also need
- A drill and a bit that matches the wall plug supplied (not needed on wood)
- A Phillips screwdriver
- Cyanoacrylate glue (“super glue”)
- A pencil and a spirit level
Installation steps
- Glue the plugs to the back of the letter
- Put a drop of cyanoacrylate glue in each recess on the back of the letter, then set a clear plug in it, rounded end facing out.
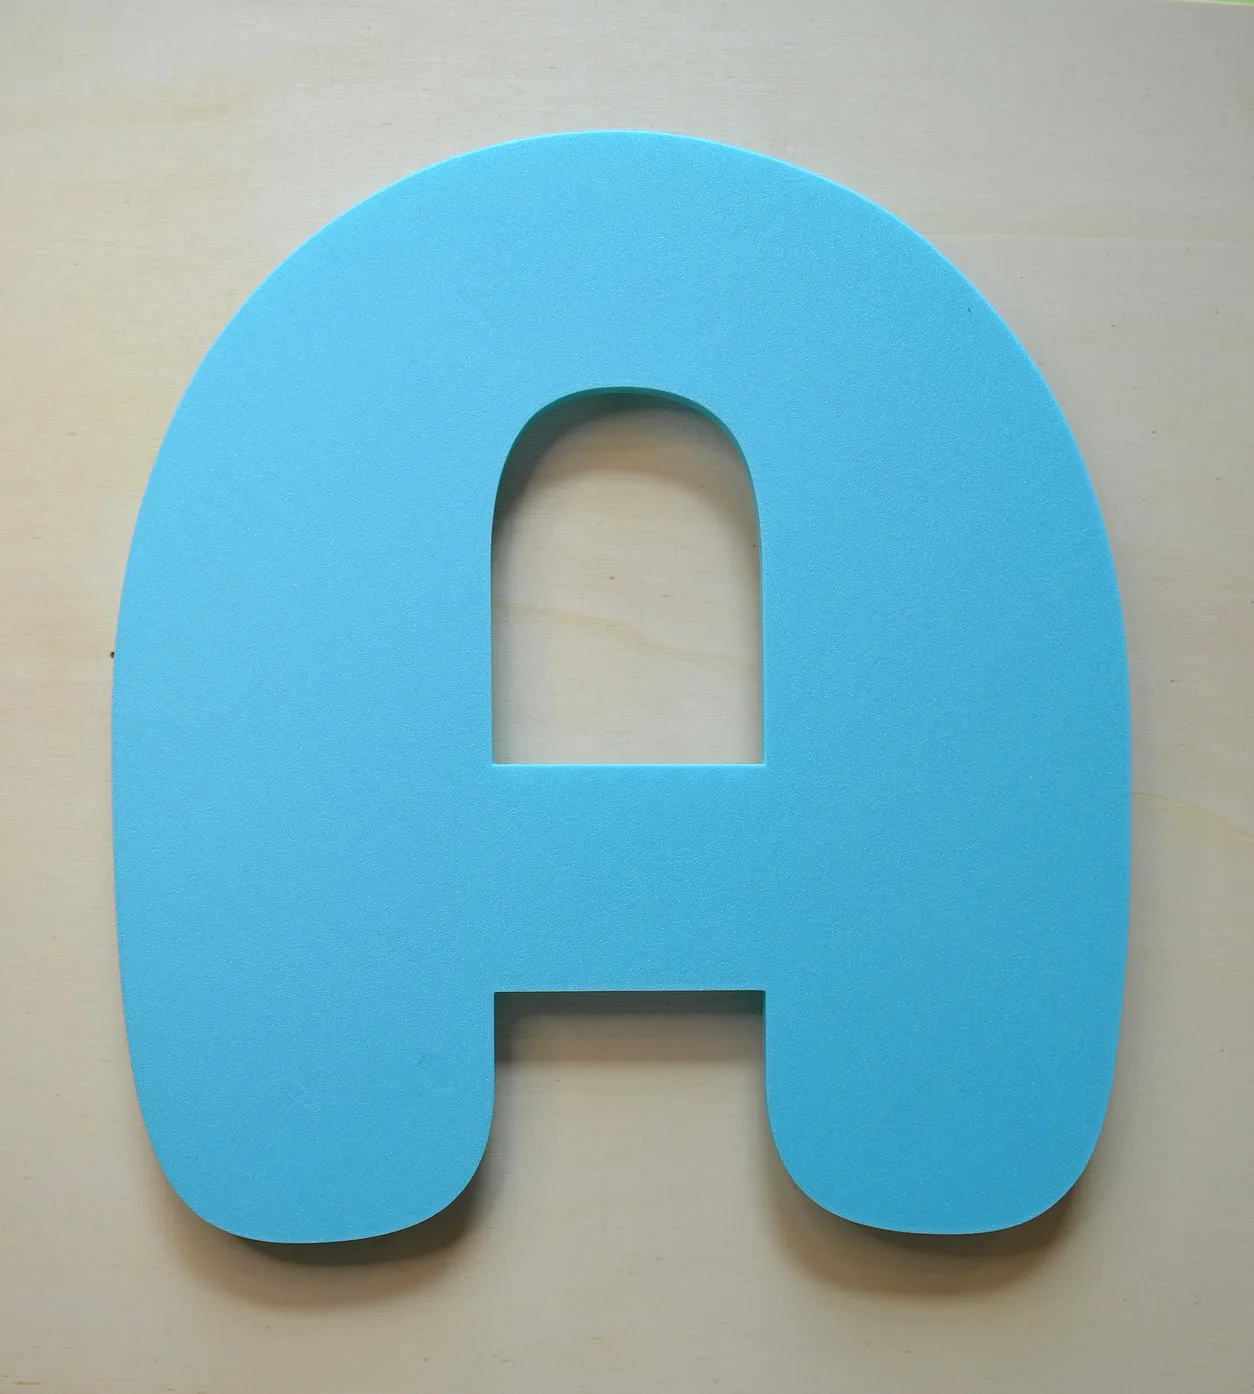
- Usually allow 2 points for a narrow letter and 3 for a wide letter such as “A”, “M” or “W”. Let the glue set before handling the letter.
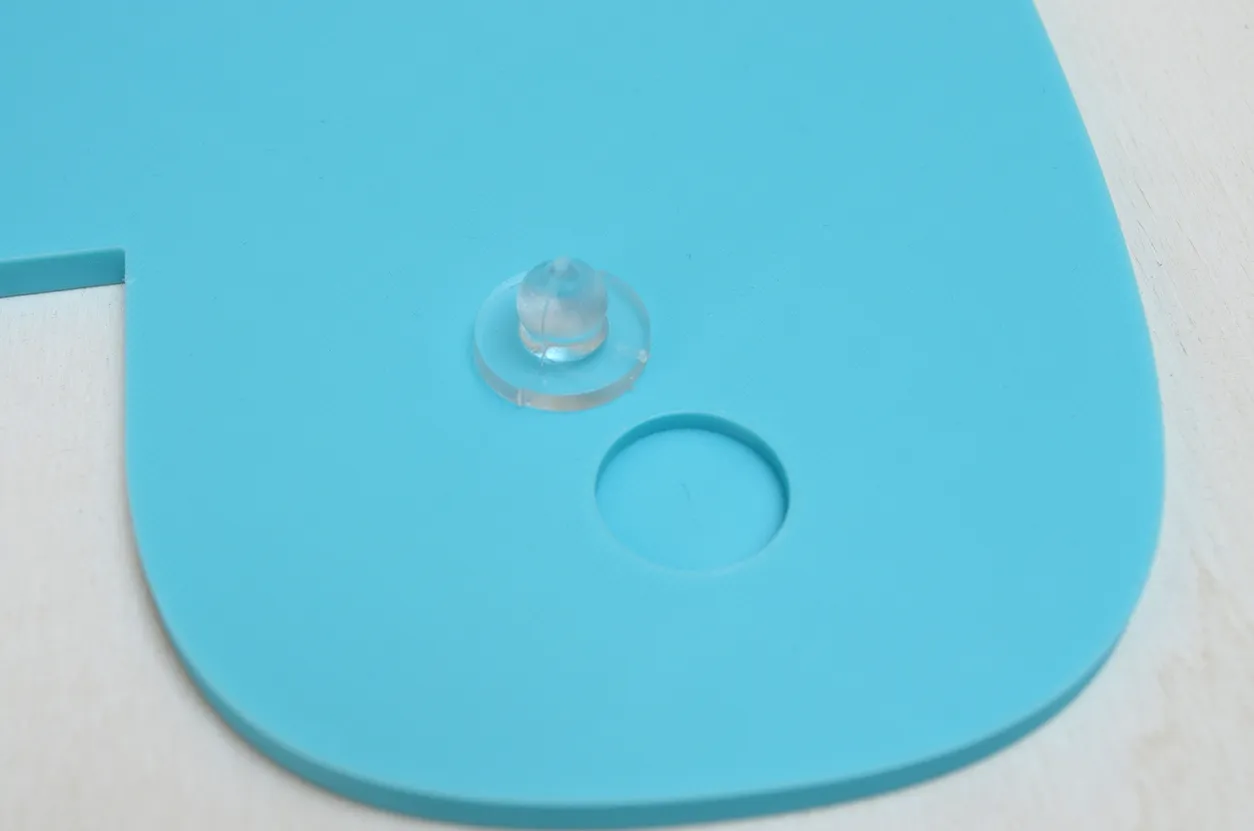
- Mark the fixing points
- Hold the letter against the wall exactly where it will go, using the spirit level.
- Press lightly: the tips of the plugs leave a small mark where to drill or screw.
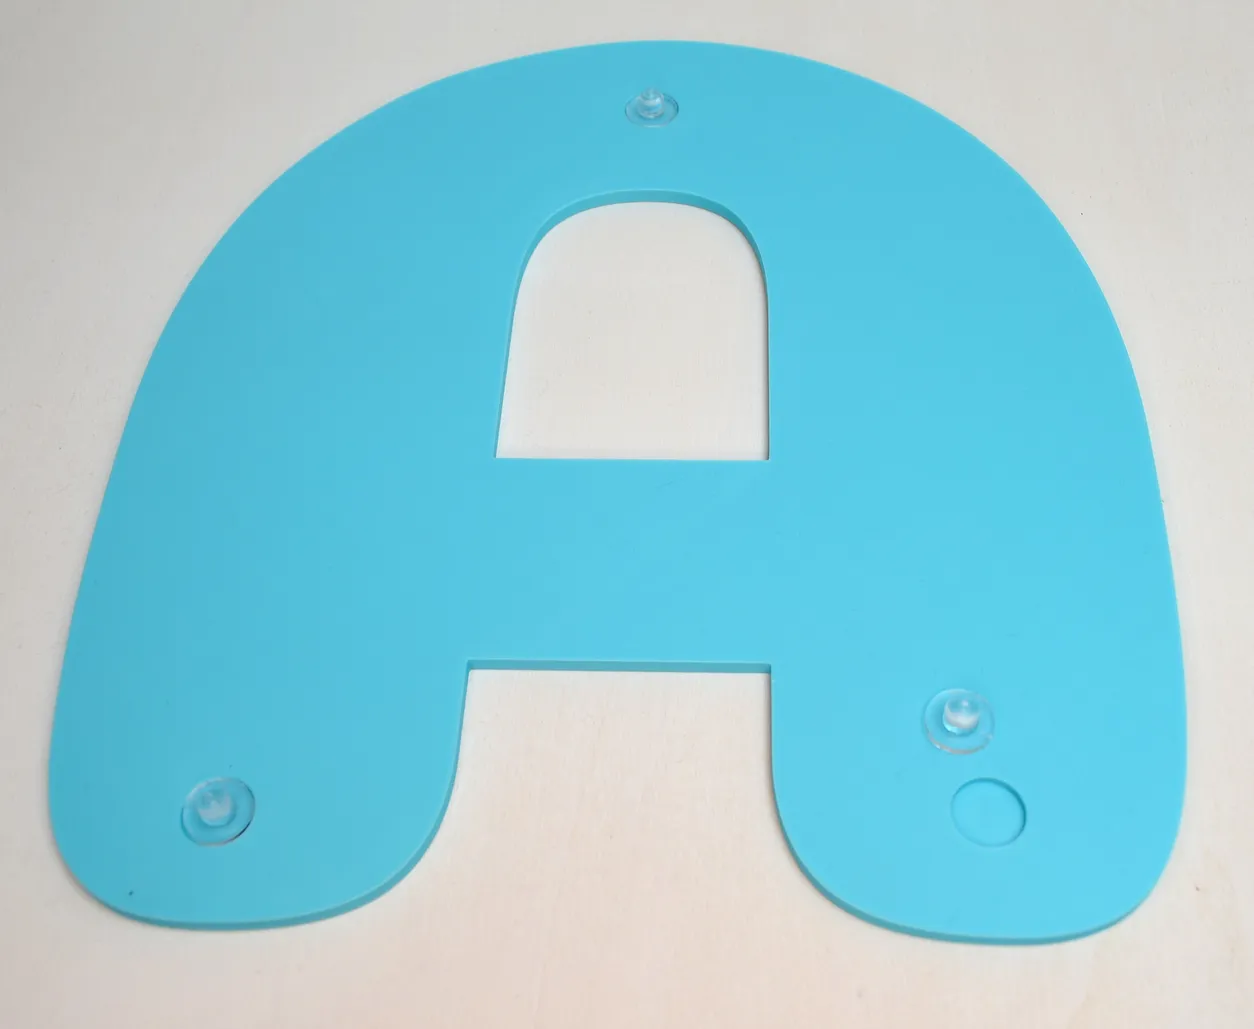
- Fix the standoffs to the wall
- Solid wall (concrete, brick, plaster) Drill at each mark, insert the wall plug supplied, then screw the standoff in with the screw supplied.
- Wooden surface Screw the standoff in directly, without a wall plug. Check the thickness of the wood so the screw does not go through it, and use a shorter screw if needed.
- Do not overtighten: the standoff should sit straight and flat against the wall.
- Clip the letter on
- Line the letter up with its plugs facing the standoffs.
- Press gently until you feel each plug fit all the way into its standoff. Your letter now floats 15 mm off the wall!
Guide 3 — Using spacing guides for flawless alignment
The secret to a professional finish, with no maths involved.
Place the shim at the widest point of each letter; its thickness follows the letter height.
Spacing guides are calibrated shims that keep exactly the same gap between every letter of your text.
How to use them
- Place your first letter Fix the first letter (for example the capital) on your alignment guide.
- Insert the shim Place the spacing guide against the right-hand side of the letter you just fixed.
- Typography tip Depending on the letter shapes (a round “O” next to a straight “L”, for example), apply the shim at the widest point of each letter.
- Butt the next letter up Press the second letter against the other side of the guide.
- Fix and remove Press the letter to fix it, then gently slide the guide out upwards. Repeat until the end of the word or phrase!
Installation kit — Everything for a successful installation
Our installation accessories, available in the shop.
A question about your project? Write to us: we reply within 24 to 48 business hours. Create my composition